
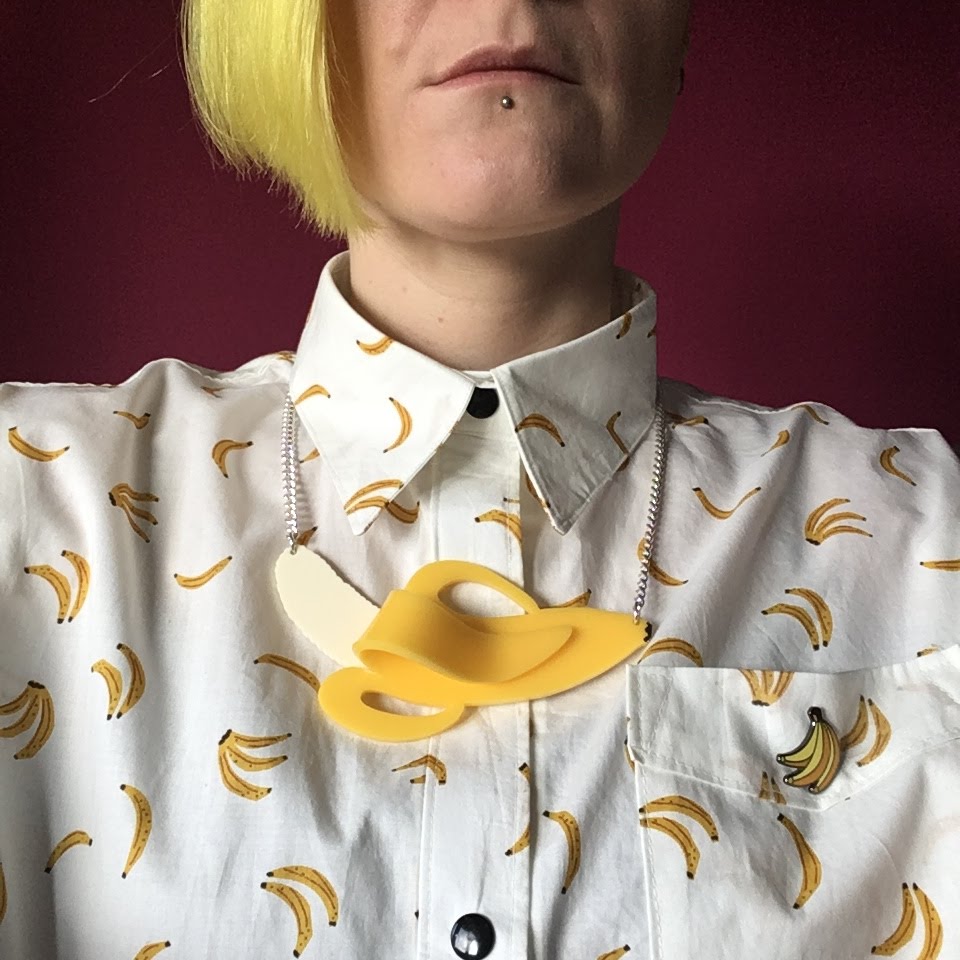
The Closet Case Kalle Shirt

Not to big up this post or anything, but this is probably my most favourite make...ever! I've had the Closet Case Kalle pattern for a while now, admiring it (in all its versions) on blog posts and in Instagram photos, and just hadn't got around to making it yet. I also had this Cotton and Steel, Rashida Coleman-Hale designed, banana print cotton lawn sat in my stash for a while. I pre-ordered it from The Fabric Fox (it's now out of stock, but here's the pink version) and then, when it arrived, I was in the middle of other makes (probably my many Lindens) and put it in the cupboard for later. A few months later, I rediscovered it and put it in the wash knowing that it would be a Kalle.

I have the pdf version so I just printed out the pattern and cut the style I wanted. I can print again for other versions, so no tracing needed! I chose to make the tunic-length (view B), with the full-length (exposed) button placket and added the pocket (or course!) The sleeve cuffs are angled to fit the shirt, which is a really nice touch as they don't jut out like on other patterns. The back has a drop-hem, which is really nice and you also get the option of which way round you want to use the box pleat on the back. I chose an inverted box pleat (below) but I think I will try it the other way for a more structured-looking shirt, maybe in the cropped version next time.


I found the pattern straightforward to follow (as is my experience with the other Closet Case Patterns Ginger Jeans) and found myself reading the sew-along blog posts to the point where I abandoned the pattern and just used these for certain elements. They are a very valuable sewing resource! I had my first 'buritto method' experience with this shirt (above) and managed not to mess it up! The yoke is perfectly enclosed with no visible seam allowance at the seams which gives it a professional-looking finish. I used poppers/snaps for the buttons, which I painstakingly measured and attached (I think I might need one of those button measuring tools).

The overall verdict is that I adore this shirt! Everything just works: the fabric, the pattern, the fit, the style. I will be making many more of these (I have fabric in my stash perfect for the Kalle) and hope to share them with you all soon. Another of my #2018makenine completed!
D.


Hi Dani - I spotted this and thought you might be interested https://blog.artfido.com/wiki-has-released-over-83500-vintage-sewing-patterns-online-for-free/ - Catharine x
ReplyDeleteThanks Catharine. Looks great! x
Delete